How to fix a zipper on a backpack
Tools & Materials You Will Need
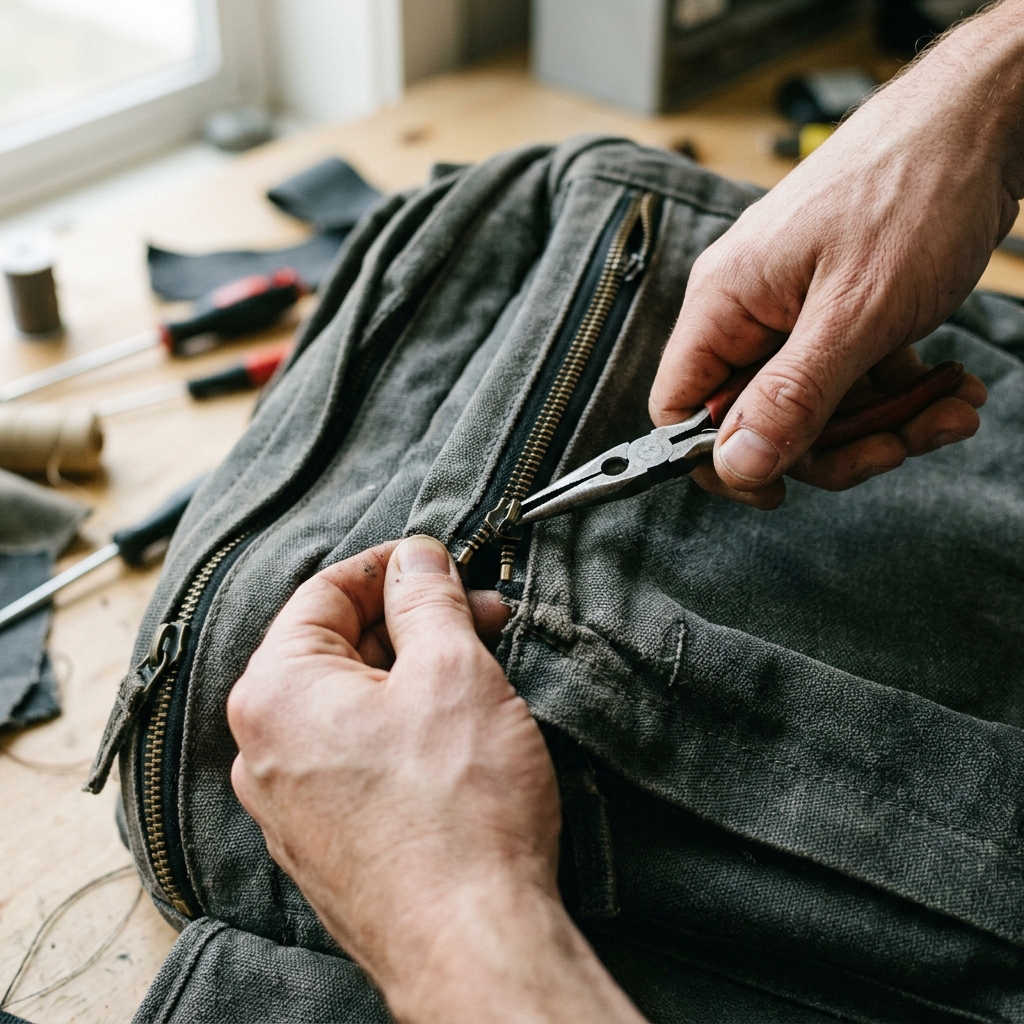
- Needle-nose pliers
- Graphite pencil or bar soap (for lubrication)
- Scissors and strong thread
Quick Diagnostic Check
| Symptom | Cause | Solution |
|---|---|---|
| Zipper splits open | Slider is loose | Pinch slider with pliers |
| Zipper is stuck | Fabric caught in teeth | Use tweezers to remove obstruction |
Step-by-Step Instructions
How to Fix a Zipper on a Backpack
(From a handyman who’s fixed a lot of busted zippers over the years.)
Backpack zippers take a lot of abuse. The good news: many zipper problems look worse than they are and can be fixed at home with simple tools.
Pro Tip: Before you replace the whole backpack or zipper, always try tightening or replacing the zipper slider first. That’s the part that fails most often, not the teeth.
Common Zipper Problems
Most backpack zipper issues fall into a few types:
- Zipper won’t close (teeth pop open behind the slider)
- Slider is loose, bent, or broken
- Zipper pull tab is missing
- Zipper is stuck (caught fabric or dirt)
- Zipper comes off one or both ends
- A few teeth are misaligned or slightly damaged
If your zipper tape (the fabric along the teeth) is badly torn or many teeth are missing, that usually means full zipper replacement, which is a sewing job. But for most everyday issues, this guide will help.
Tools and Materials
- Small pliers (needle-nose work best)
- Regular pliers (optional but helpful)
- Small flat-head screwdriver or butter knife
- Scissors
- Candle or bar of soap (or zipper lubricant, if you have it)
- Replacement zipper slider kit (optional, but very handy)
- Key ring, paperclip, or small cord (for missing pull tab)
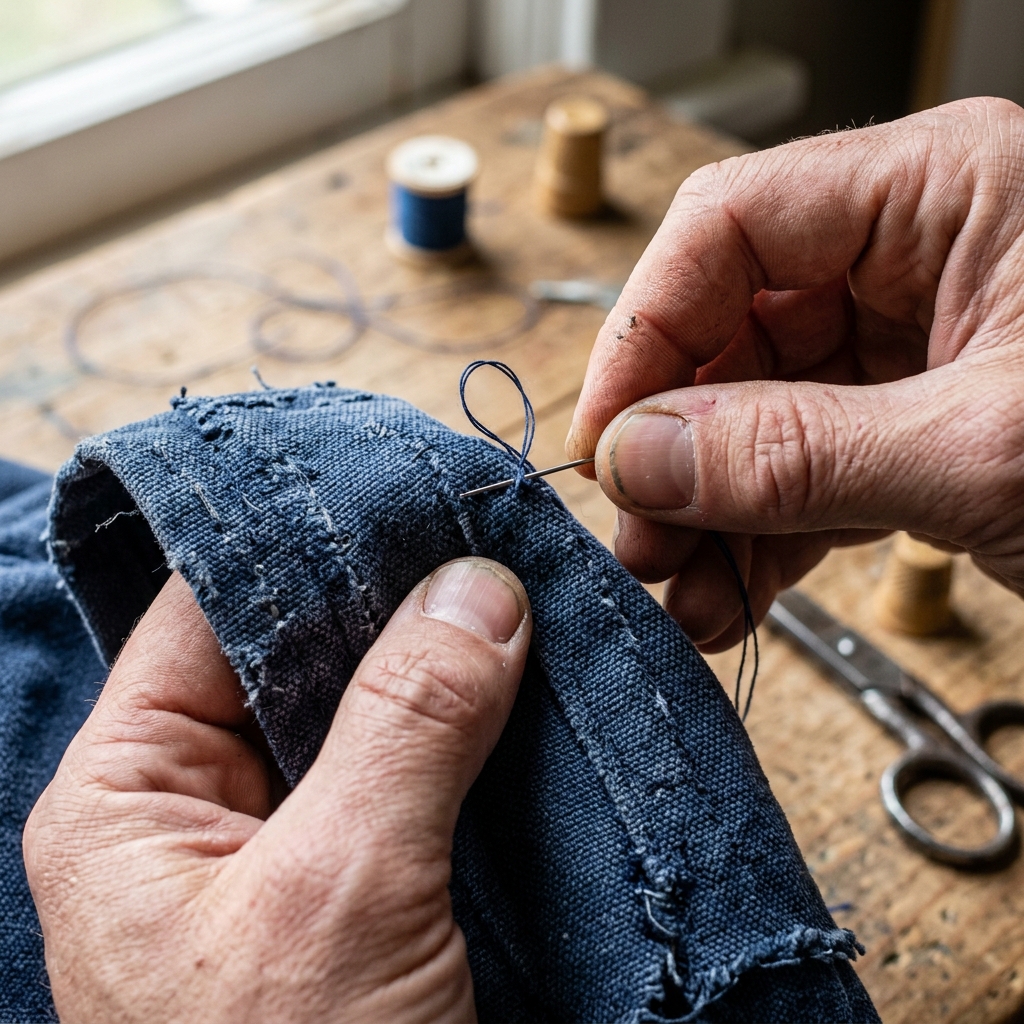
- Sewing needle and strong thread (for small end repairs)
Step 1: Figure Out the Problem
-
Check the teeth
Slowly zip and unzip the zipper and look closely at the teeth.
See if any are bent, missing, or not lining up right. -
Inspect the slider
Look at the slider (the metal or plastic piece you pull).
If it looks wide, loose, or twisted, that’s often the real problem. -
Test each side
Gently pull each side of the zipper tape.
If the teeth separate easily after you zip, the slider is usually worn out or loose.
Step 2: Try Cleaning and Lubricating
If the zipper is hard to move or feels stuck, start here.
-
Clean the zipper
Brush or wipe away dirt, sand, or lint from the teeth.
Use an old toothbrush or a dry cloth if you have one. -
Apply a light lubricant
Rub a candle or bar of soap along the teeth (both sides).
Then zip and unzip a few times to spread it out evenly. -
Check for trapped fabric
If the zipper won’t move, look carefully for backpack fabric caught in the teeth or slider.
Gently pull the fabric out using your fingers or pry it loose with a small flat-head screwdriver.
If the zipper moves smoothly now, you’re done. If it still splits open, move on.
Step 3: Fix a Zipper That Won’t Stay Closed
This is the most common issue: you zip it up, and it pops open behind the slider.
-
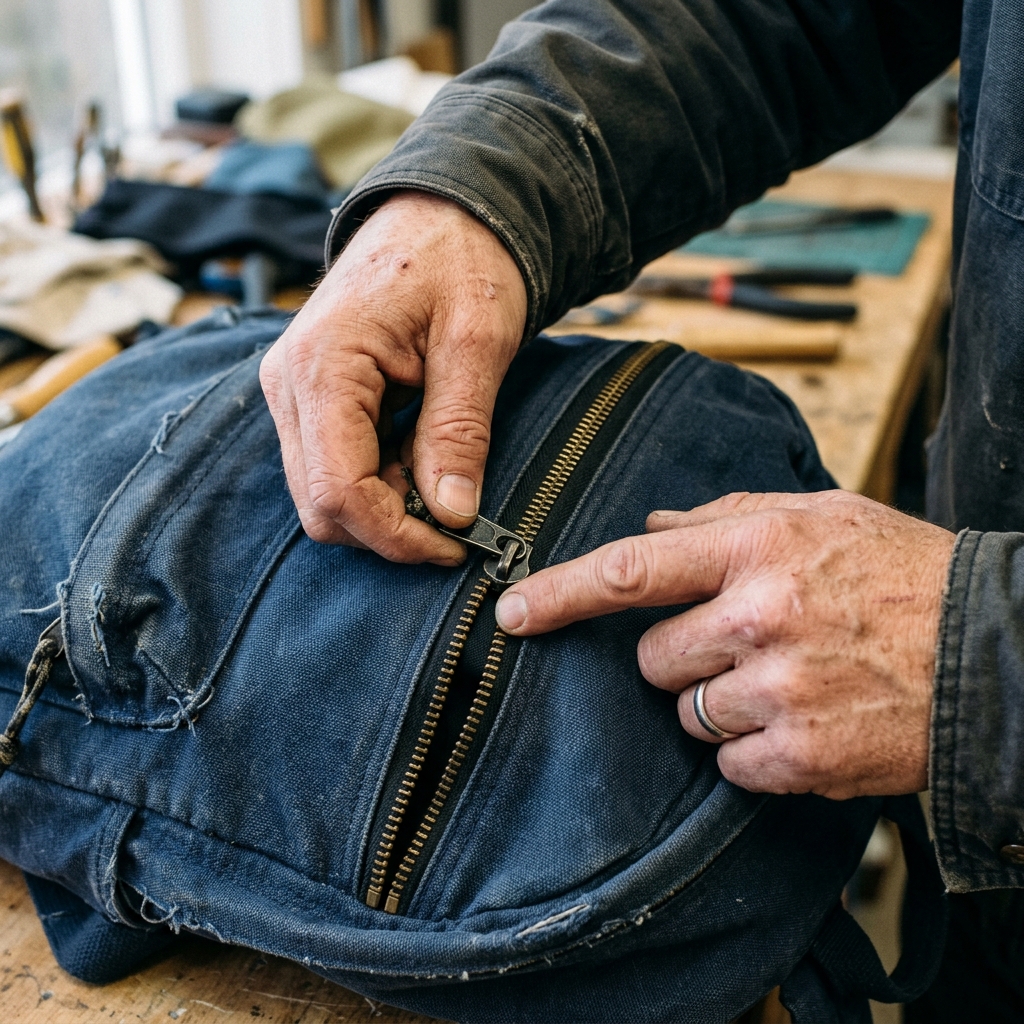
Inspect the slider for wear
Look at the front and back of the slider.
If you see a gap and it looks stretched open, it’s not gripping the teeth right. -
Gently tighten the slider
Use needle-nose pliers to gently squeeze the sides of the slider together.
Do this in small amounts on both the front and back, so it stays even. -
Test the zipper
Zip it up and down a few times.
If the teeth now stay together, you fixed it. If not, you may need a new slider.
Step 4: Replace a Worn or Broken Slider
If the slider is cracked, badly bent, or tightening didn’t help, replace it.
-
Find the zipper stop
At the top end of the zipper, look for the metal or plastic stop that keeps the slider from sliding off.
It may be a small clamp or a sewn loop of fabric. -
Remove the top stop
Use pliers to carefully open and remove the metal stop on the side where the slider sits.
Try not to damage the zipper tape (the fabric strip along the teeth). -
Slide off the old slider
Gently pull the old slider off the teeth.
If it’s stuck, wiggle it slowly rather than forcing it. -
Match and install the new slider
From your zipper repair kit, pick a slider that matches the size and type of your zipper (metal-to-metal, plastic-to-plastic).
Slide the new slider onto the teeth the same way the old one came off (right side facing the same direction). -
Test the new slider
Zip and unzip the backpack several times.
If it works well and teeth hold, move on to closing it up. -
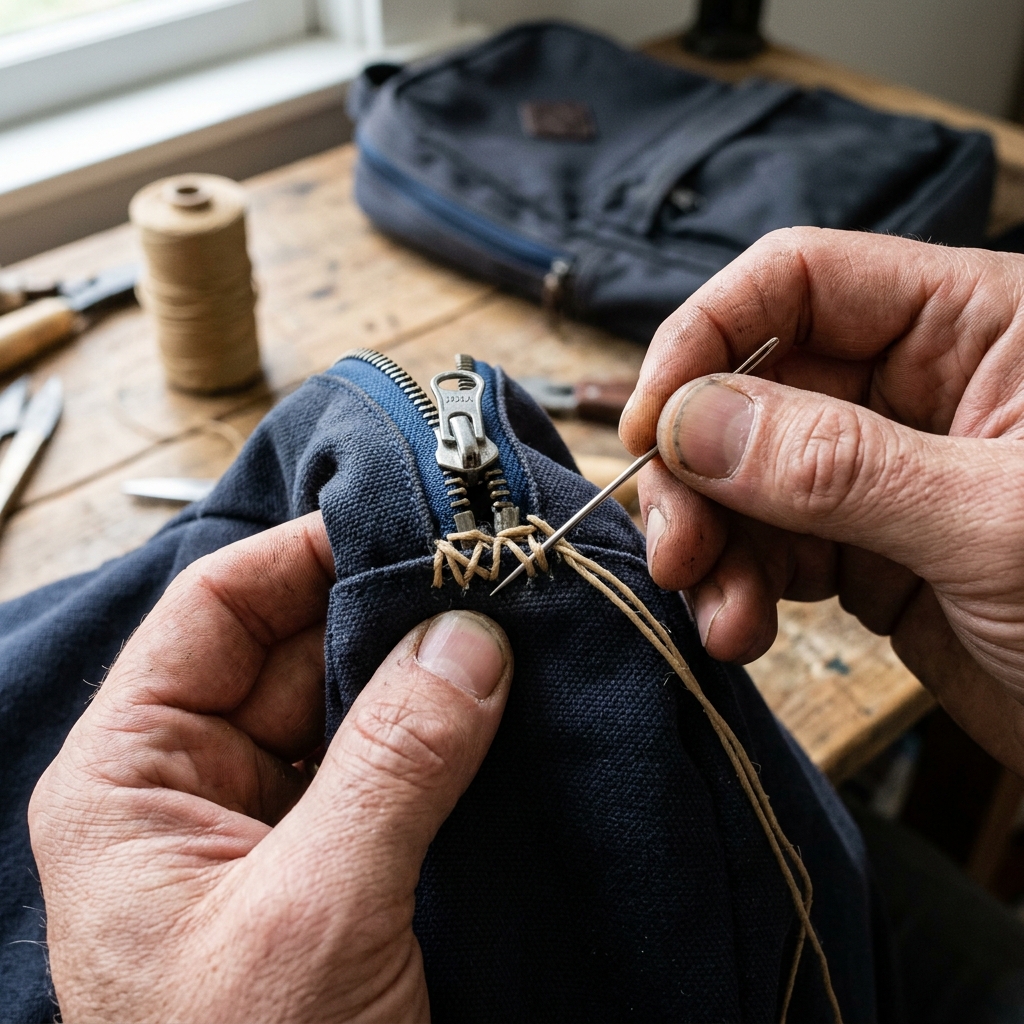
Reattach a new top stop
Use the new stop from your repair kit or sew a few tight stitches around the tape above the slider to create a “stop.”
Clamp the metal stop with pliers if using one, so it holds firmly.
Step 5: Fix a Zipper That Came Off One Side
If the slider is only on one side of the teeth, you can often fix it.
-
Open the top stop
Remove or open the top stop on the side where the slider is still attached.
Do this with pliers, gently. -
Re-thread the teeth into the slider
Line up both sides of the zipper teeth evenly.
Feed both sides into the bottom of the slider at the same time and gently pull the slider down. -
Check alignment
Make sure the teeth line up perfectly at the bottom.
If they are uneven, remove the slider and try again until both sides are level. -
Secure the top stop
Once the slider is back on and working, reclamp or replace the top stop with pliers.
You can also sew a heavy stitch across the tape as a backup stop.
Step 6: Fix a Missing Pull Tab
If the slider works but the little tab broke off, this is an easy fix.
-
Check the loop on the slider
Look at the small hole or loop where the tab used to attach.
As long as this loop is not broken, you’re in good shape. -
Add a new pull
Thread a key ring, paperclip, or small cord through the loop.
Tighten or close it so it doesn’t fall out. -
Make it comfortable to use
If you used thin wire or a paperclip, you can wrap it with tape or cord.
This makes it easier and more comfortable to grab.
Step 7: Deal With Slightly Damaged Teeth
If only a few teeth are slightly bent (not missing), you may still save the zipper.
-
Identify the bad teeth
Zip up and down and see where it snags or pops open.
Look closely at that spot for teeth that are crooked or pushed in. -
Gently straighten the teeth
Use needle-nose pliers to carefully bend the bad teeth back into line.
Work slowly so you don’t break the tooth off. -
Test the zipper
Lubricate lightly with soap or candle, then zip and unzip several times.
If it still fails at that same spot, you may need a full zipper replacement by a tailor or shoe repair shop.
Step 8: Prevent Future Zipper Problems
-
Don’t overstuff the backpack
Avoid cramming too much into the bag so the zipper isn’t under heavy strain.
Too much pressure is the main reason sliders wear out and teeth pull apart. -
Zip gently, hold the fabric
When closing, hold the two sides of the bag together with one hand and pull the slider smoothly with the other.
Don’t yank hard if it catches; back up and clear the snag first. -
Keep it clean and smooth
Every few months, brush off dirt and run a little soap or candle wax along the teeth.
This keeps the zipper moving easily and helps it last longer.
If you tell me exactly what your zipper is doing (for example: “teeth split in the middle,” “slider came off,” or “stuck in one spot”), I can walk you through a more precise fix step by step.
Frequently Asked Questions
How do I align zipper teeth if they are uneven?
If one side is longer than the other, you must remove the bottom stop completely. Pull the slider off, align both tracks perfectly side-by-side, carefully thread the slider onto both tracks simultaneously, and sew a new tight fabric stop at the bottom.
What can I use to lubricate a stuck zipper without staining the fabric?
A simple graphite pencil is the best dry lubricant. Rub the lead directly onto the stuck teeth. Do not use oil or WD-40 on a backpack, as it will deeply stain the fabric and attract dirt that ruins the zipper later.
Can I replace the pull tab if just the tiny metal loop broke?
Yes, finding a replacement pull tab is very easy. You can thread a small split ring (like a keychain ring) or a sturdy paperclip through the slider hole as a quick, permanent fix without replacing the entire zipper slider.
Why are metal zippers generally better than plastic coil zippers?
Metal zippers have individual teeth clamped onto the fabric tape, making them highly durable against heavy loads. Plastic coil zippers are continuous spirals stitched onto the tape; if the stitching breaks, the entire coil unravels.
What if my backpack uses a double-sided zipper (two sliders)?
Double sliders meet in the middle. If one is broken, you can safely remove it with pliers, sew a stop at that end, and just use the remaining slider as a single-path zipper across the whole track.
