How to fix a key that fell off Mac keyboard
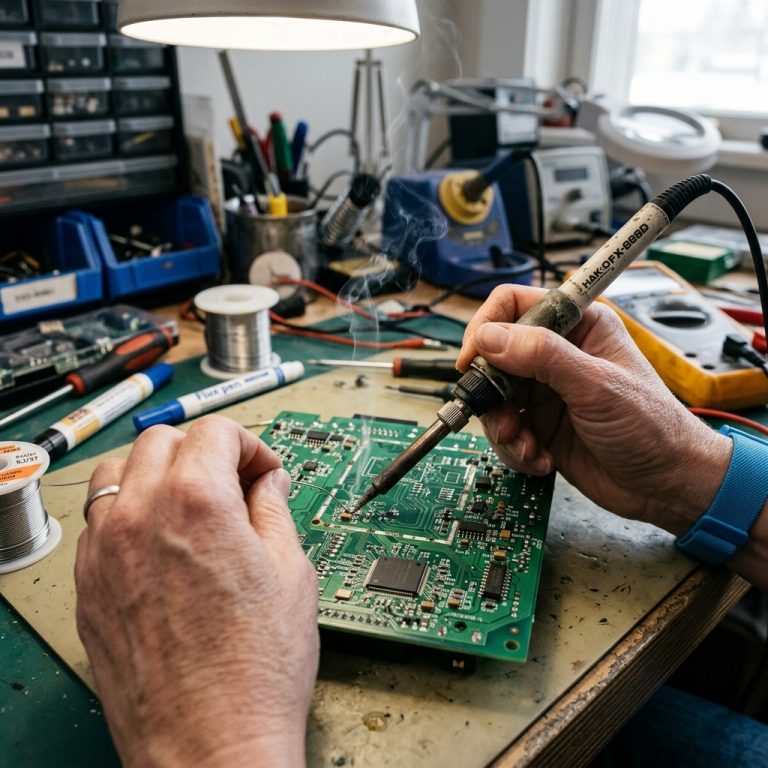
Tools & Materials You Will Need
- Precision tweezers
- Replacement keycap and hinge clip
- Isopropyl alcohol (99%) and Q-tips
Quick Diagnostic Check
| Symptom | Cause | Solution |
|---|---|---|
| Keycap fell off | Broken plastic clip | Replace the butterfly/scissor clip |
| Key feels sticky | Crumbs or liquid | Clean underneath with isopropyl alcohol |
Step-by-Step Instructions
How to Fix a Key That Fell Off a Mac Keyboard
(Works for MacBook and Apple Magic Keyboards)
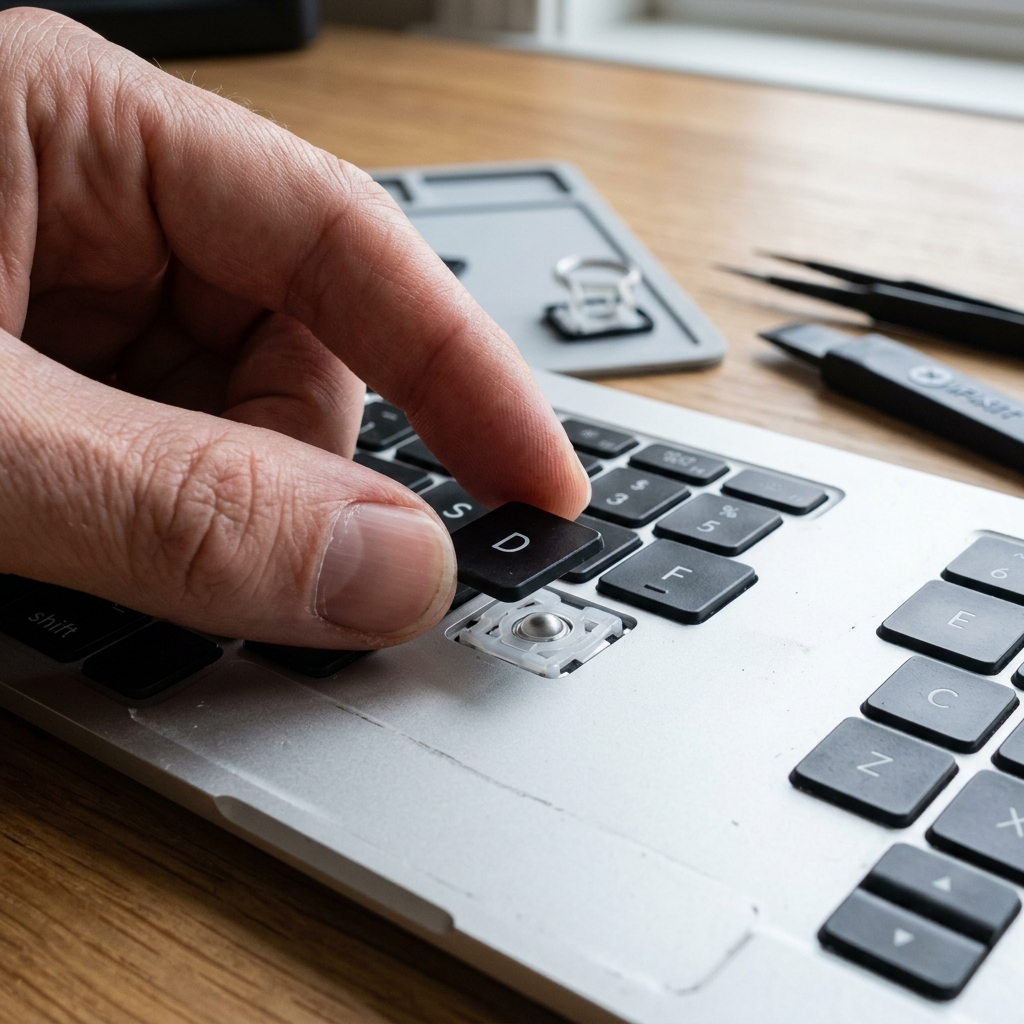
When a key pops off your Mac keyboard, it looks scary, but most of the time you can fix it yourself. As long as the plastic clips aren’t broken, you usually don’t need a new keyboard.
Pro Tip: Before you start, take a clear photo of a nearby key so you can copy how the little parts sit and move. That photo can save you a lot of guessing later.

Before You Start
Mac keys sit on a tiny “scissor” or “butterfly” mechanism.
Your goal is to:
- Make sure the plastic hinge (the little frame) is in the right place.
- Make sure the rubber dome (soft bump under the key) is centered and not ripped.
- Reattach the keycap (the top part with the letter) so it snaps in firmly.
If any plastic is cracked or missing, you may need a replacement key kit.

Tools
- Small flat tool (guitar pick, plastic pry tool, or clean thumbnail)
- Bright light or desk lamp
- Magnifying glass (optional, but very helpful)
- Tweezers (optional, for tiny plastic parts)
- Compressed air or a soft brush (for cleaning)
Step 1: Check the Parts
-
Find and inspect the keycap.
Pick up the keycap (the top piece with the letter). Look underneath it for cracks or broken clips on the sides. -
Look at the keyboard area.
Check the spot where the key fell from. You should see either the plastic scissor mechanism still attached or missing. If it’s missing, it is probably stuck to the keycap instead.
-
Identify where the scissor frame is.
If the plastic frame is on the keyboard, leave it there for now.
If it’s on the bottom of the keycap, gently remove it by lifting one side at a time with your nail or a plastic tool.
Step 2: Clean the Area
-
Blow out dust and crumbs.
Use compressed air or gently brush the area under the key. Clean the rubber dome and around it. -
Wipe the keycap.
Lightly wipe the underside of the keycap with a dry cloth. Do not use liquid cleaners here; moisture can get inside the keyboard.
Step 3: Understand the Scissor Mechanism
-
Study a nearby key.
Gently lift a corner of a nearby key (just a tiny bit) so you can peek under it and see how the scissor frame sits. Do not pull it off; just look. -
Compare the shapes.
On most Mac keys, the scissor frame has a “top” and “bottom.” Match the shape and direction with your loose one so you don’t install it upside down. -
Lay the scissor frame flat.
Put the loose scissor frame on the table and move the joints with your fingers. Make sure it opens and closes smoothly and isn’t bent or cracked.
Step 4: Reattach the Scissor Mechanism to the Keyboard
(Skip this step if the scissor is still on the keyboard and looks correct.)
-
Line up the hooks.
On the keyboard, you’ll see tiny metal or plastic nubs or hooks. On the scissor frame, you’ll see tiny holes or slots. Match each corner of the frame to these hooks. -
Clip in the first side.
Hold the scissor frame with tweezers or your fingers. Hook one edge of the frame under the matching hooks on the keyboard. -
Press down the opposite side.
Once one side is hooked, press the other side gently down until it clicks into place. It should lie flat and be able to flex up and down slightly. -
Test the movement.
With the scissor in place, press it lightly. It should move evenly and pop back up. If it tilts or pops off, remove it and try again, making sure it isn’t upside down.
Step 5: Check the Rubber Dome
-
Inspect the rubber dome.
In the center, you’ll see a soft, round rubber piece. Check for tears or missing pieces. If it’s badly damaged, the key may not work right and might need pro repair. -
Make sure it’s centered.
The dome should stand straight up, not folded or leaning. Gently straighten it with your finger if it’s off to one side.
Step 6: Attach the Keycap
-
Align the keycap.
Hold the keycap over the scissor mechanism. Make sure the letter is facing the right way (compare with other keys like A, S, D, F). -
Set it down evenly.
Place the keycap flat on top of the scissor frame, not at an angle. It should rest gently without forcing it yet. -
Press down to snap it in.
Using one finger, press firmly in the center of the keycap until you hear or feel a click. If you don’t feel a solid snap, press lightly on each corner one at a time. -
Check for wobble.
Lightly wiggle the keycap side to side. It should feel similar to the keys around it, not loose or tilting more than the others.
Step 7: Test the Key
-
Press the key several times.
Tap it like normal typing. It should go straight down and spring back up smoothly. -
Test in a text field.
Open Notes, TextEdit, or any text box. Press the key repeatedly and check that the character appears every time. -
Listen for odd sounds.
If it clicks loudly, scrapes, or feels stuck, remove the keycap carefully and check that the scissor frame is seated correctly.
If the Key Still Won’t Stay On
-
Look for broken plastic.
Inspect the keycap and scissor again. If a tab or hinge is cracked or missing, it may not ever lock in firmly. -
Consider a replacement key kit.
You can order a replacement key kit (keycap, scissor, and rubber dome) made for your exact Mac model. Make sure it matches your year and keyboard type. -
When to see a pro.
If more than one key is loose, or the rubber dome is torn off the board, it may be better to visit an Apple Store or repair shop. For newer MacBooks, the top case and keyboard are sometimes one big unit.
Extra Pro Tips
- Practice on a less important key first (like a letter) before fixing something like the space bar, which has extra clips.
- Work in a clean, bright area so you don’t lose tiny pieces. A white towel on the table makes dropped parts easier to see.
- Be patient and gentle. Most damage happens when people force a key back on. If it doesn’t click easily, stop and check the alignment again.
Frequently Asked Questions
Can I clean sticky Macbook keys safely with alcohol?
Yes. 99% isopropyl alcohol is non-conductive and evaporates rapidly. Use a Q-tip to dab a tiny drop of alcohol under the sticky keycap and press it repeatedly to dissolve the sugar or coffee residue. Do not pour alcohol directly onto the board.
What do I do if the little rubber silicone dome underneath the key is torn?
The rubber dome provides the “spring” back up. If it is completely torn off, it cannot be glued back effectively. On MacBooks, this unfortunately means the entire top case (which includes the battery and keyboard) must be replaced.
Why is it so hard to replace a single butterfly keyclip?
The Butterfly mechanism (used from 2015-2019) is incredibly fragile and brittle plastic. They snap with less than 2 lbs of force. You must carefully slide a thin pick exactly under the upper corners first to detach the top hooks before sliding down.
Are third-party keycaps identical to original Apple OEM keycaps?
Usually not. Third-party cheap kits on Amazon often have slightly different plastic textures or the translucent letter cutout doesn’t match perfectly, leading to weird light bleed from the keyboard backlight.